Integrating Robolectric to Android App
Running tests on an Android emulator or device is slow. Robolectric is a unit test framework that de-fangs the Android SDK jar so you can test-drive the development of your Android app. Tests run inside the JVM on your development machine.
Robolectric allows a test style that is closer to black box testing, making the tests more effective for refactoring and allowing the tests to focus on the behavior of the application instead of the implementation of Android.
To test-drive your application using Robolectric, the first step is to add junit and robolectric as dependencies in your app/build.gradle:
dependencies {
    ...
    compile 'junit:junit:4.12'
    compile "org.robolectric:robolectric:3.0"
}
Once it is added and sync is completed, you can create test files. Test files should be added to app/src/test/<package name> directory. Let's start by creating a test file for MainActivity (assuming your main activity class is MainActivity! Or change the name accordingly)
@RunWith(RobolectricGradleTestRunner.class)
@Config(constants = BuildConfig.class)
public class MainActivityTest {
    MainActivity mainActivity;

    @Before
    public void setup() {
        mainActivity = Robolectric.setupActivity(MainActivity.class);
    }

    @Test
    public void passingTest() {
        Assert.assertTrue(true);
    }
}
This test creates and activity and does nothing with it. The file also contains a sample assertion which always passes. Now, run the tests from command line:
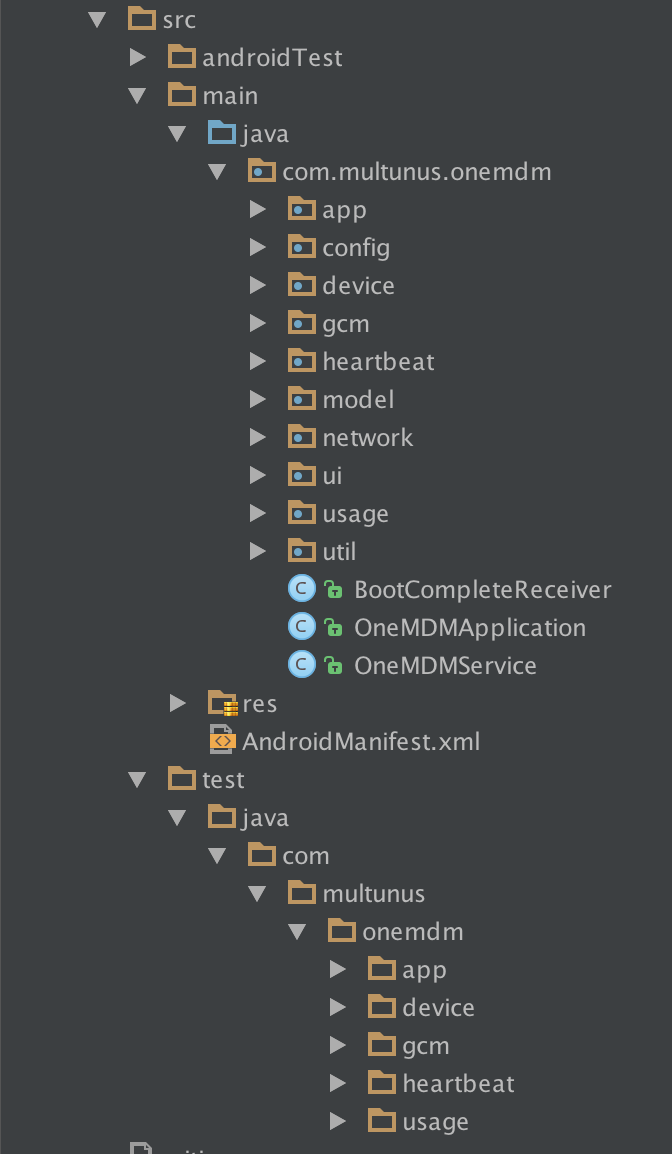
./gradlew clean testAs the number of files grow, test files also increases and it will be difficult to manage everything under a single directory. One approach to solve this problem is to group your classes into subdirectories. This also helps to maintain the source files better: