Compile and Run the Application
This project does not use any build automation tools such as Maven, therefore, all the compiling works are depending on the IDEs. Different IDEs may have a different process of compile external reference libraries. Here, we provide the ways to properly compile and run the application in Visual Studio Code and Eclipse.
In order to properly running the project, you are required to install Java 9 or above.
- Go to Eclipse, open the project, and then open the
Project Propertypanel. - Under the tab
Run/Debug Settings - Next, open the
Mainfunction forMain.java, and turn to the tabArguments - Paste the following code into
VM arguments:

--module-path "src/lib/javafx-sdk-11.0.2/lib" --add-modules=ALL-MODULE-PATH
- Finally, it ends up looking like this. Click
OKand you are ready to run!

.jar files under src/lib.
Before you run the code, please ensure all the conditions below are satisfied:
- You have installed the plugin
Java Extension Packby Microsoft in your vscode. - The plugin is enabled.

By default, if you have cloned the repository code, you should be able to successfully compile and run the application by pressing F5 and select the Main function in Main.java. Note that it is the one in Main.java.
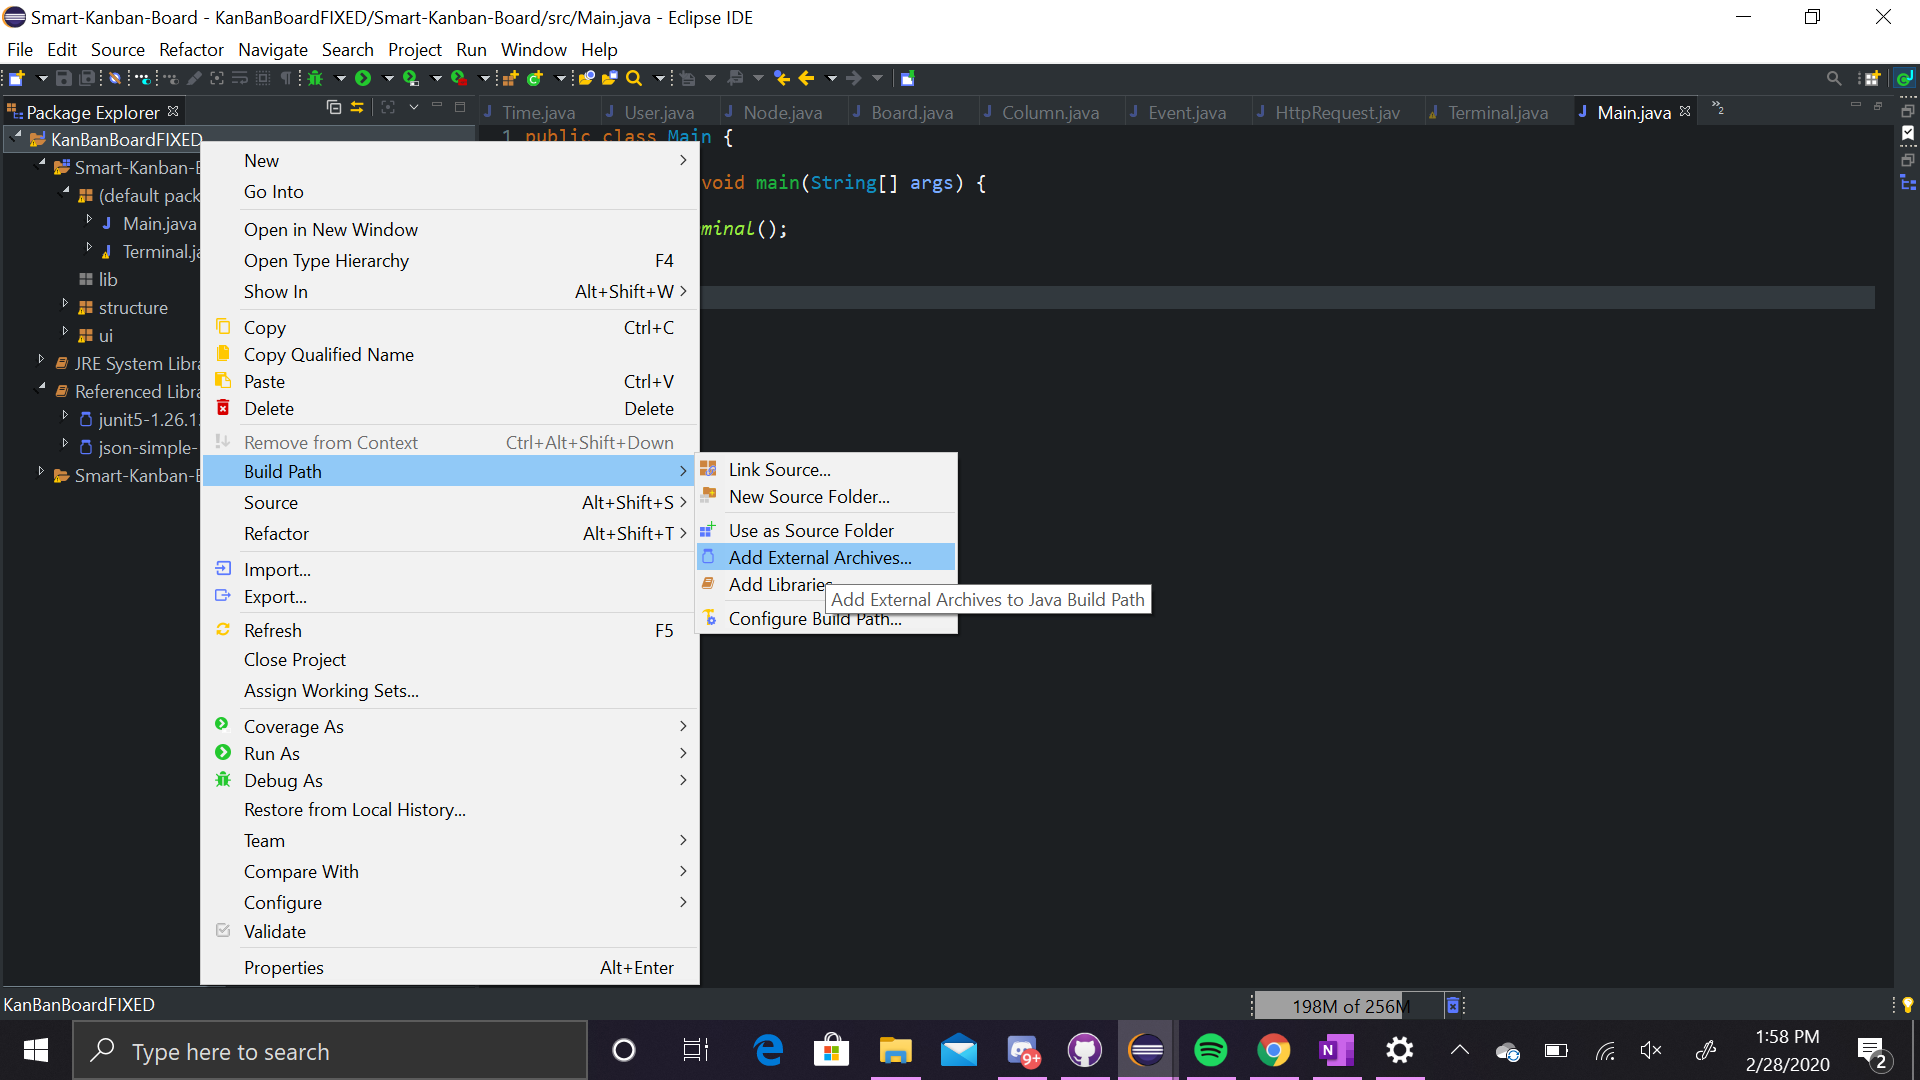
If in an unexpected case, the external libraries are not compiling and cause errors, you will have to do the following steps to re-import the libraries:
- Find the
Java DependenciesandReference Libraries, and click the+button - In the popup, go to directory
src/liband select all the.jarfiles

