Getting started
.
How to use Reactalk
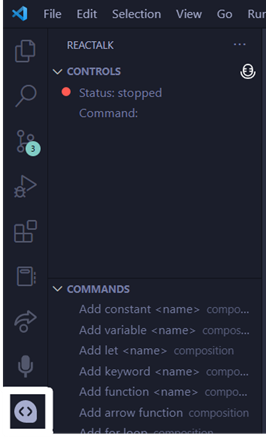
Reactalk is a VSCode extension that serves as a voice programming tool, aka. You can code using your voice. We have a wide selection of commands available and they come under 4 categories: Composition, Editing, Navigation and System.
Table of Contents
To get a local copy up and running, follow these steps:
- Node v14.0 or above
npm install npm@latest -g

# check for node version >14
node --version- VSCode
- SoX v14.4.1 (for Windows users)
- Setup a Google Cloud project by following the steps outlined here (Note: this will require a billing account for the Google Cloud service). Store the google credentials file for the Google Cloud project somewhere safely
- Desktop USB microphone (recommended)
- Laptop/PC
- Clone the repository to your local machine
git clone https://github.com/alyu201/Reactalk.git- Set the Google Cloud project credentials as an environment variable
- Windows:
- Add the
GOOGLE_APPLICATION_CREDENTIALSenv variable with the path to the credential keys json file as the value using theenvfield in thelaunch.jsonfile in the.vscodefolder.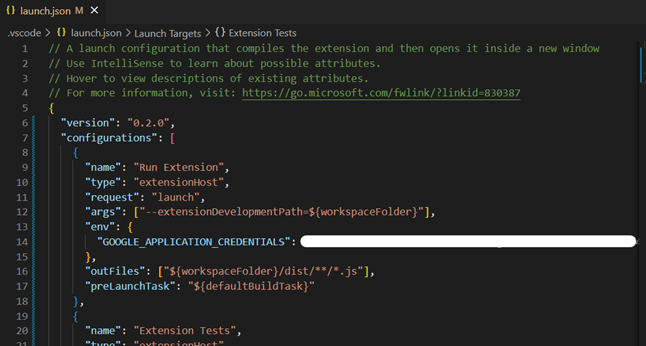
- Add the
- Mac:
- When setting up the environment variables for Mac, it is better to set the environment varaible in the shell startup file (for example in the
~/.bashrcor~/.profilefile) so that the variable can be applied in future shell sessions.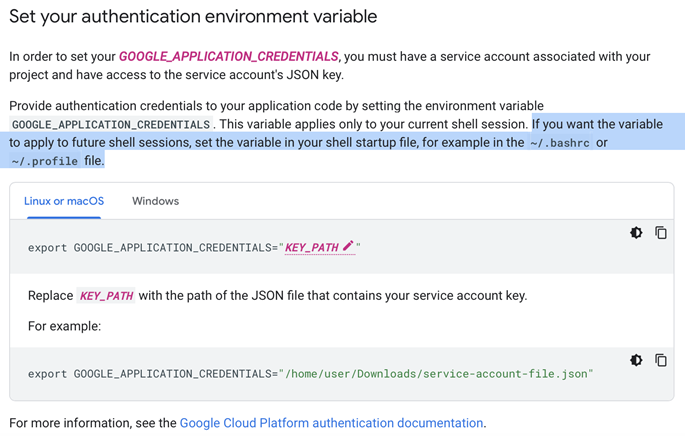
- When setting up the environment variables for Mac, it is better to set the environment varaible in the shell startup file (for example in the
- Ensure you are at the root directory
- Run
npm installon your terminal to install the required node dependencies.
npm install-
Due to issues with
node-record-lpcm16package, theindex.jsfile of the package needs updating. Go tonode_modules/node-record-lpcm16/recorders/index.jsand on line 5, change thereturn require(...)to returnrequire(./${recorderName})instead -
Build and start the extension in an Extension Development Host window by pressing the
F5 key
- Follow the steps specified in Setup and run Reactalk for development to clone and setup the project.
- Install the
vscecommand-line tool to package Reactalk by executing the following in the terminal. More information can be found here.
npm install -g vsce- Package Reactalk as an extension by executing the following in the terminal. This should produce a Reactalk extension
.vsixfile namedreactalk-0.0.1.vsixin the root directory.
$ cd myExtension
$ vsce package
# myExtension.vsix generated- Follow the instructions in the Package Reactalk as a .vsix extension file section to produce a
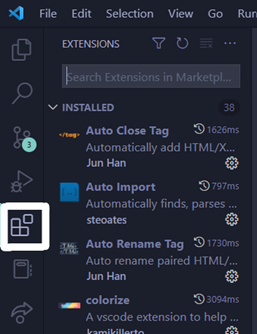
.vsixfile. - To install and run Reactalk as an extension, navigate to the ‘Extensions’ tab of the sidebar in VSCode.
- Click on the three dots located at the top right side and click on 'Install from VSIX'.
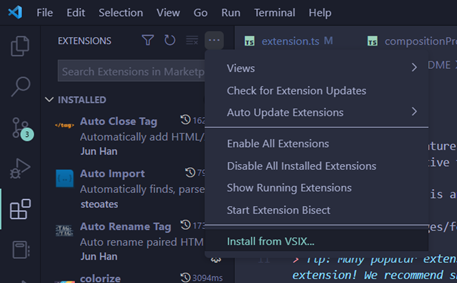
- A file explorer dialogue will appear for choosing the
.vsixfile to install. Locate thereactalk-0.0.1.vsixfile and press ‘install’.

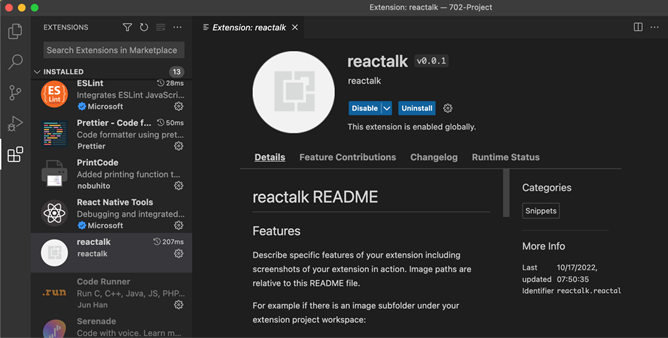
- Reactalk is now installed as an extension locally and a new extension will appear in the sidebar of VSCode. If the displayed extension does not show up, have a look at the secondary sidebar or the toggle panel.
- To use Reactalk, refer to the How to use Reactalk section below for more details.
- Ensure that you have a microphone available. This can be the system’s existing microphone or a USB plugin microphone.
- Open up Reactalk. Ensure that the extension is installed and enabled. To install and setup Reactalk as an extension on your machine locally, follow the steps in the Install and run Reactalk as an extension locally section of the Compendium/Documentation/Setup and run Reactalk.docx file
- You should see the setup from the Recommended setup section above. If not, refer to this section above to adjust.
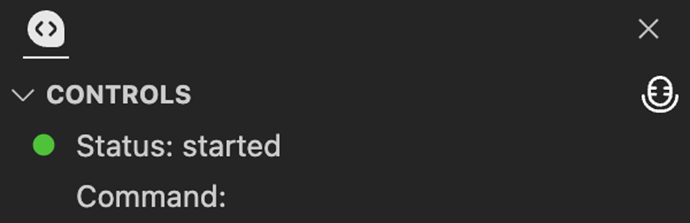
- Click the start button (represented by the microphone icon) to begin speaking.
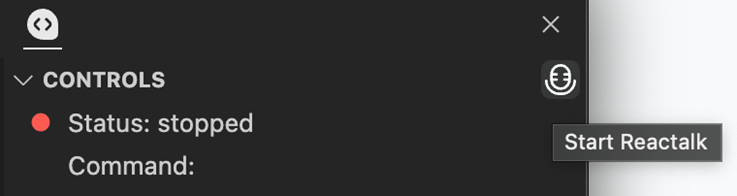
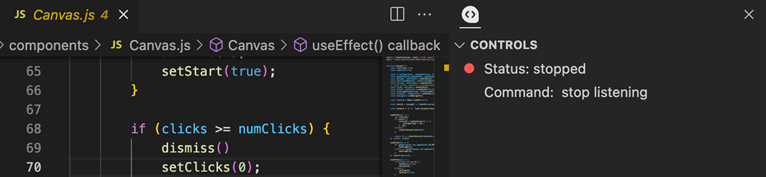
- This should change the status to ‘started’:
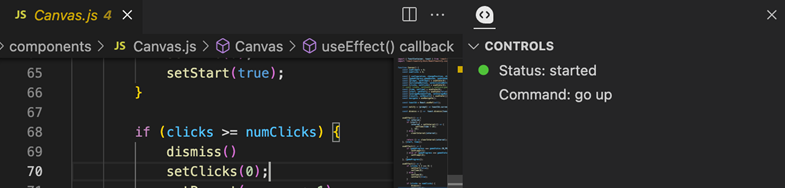
- Begin talking! And the transcript should appear. For example, saying “go up” would produce this:
- To stop Reactalk, say ‘stop listening’: